


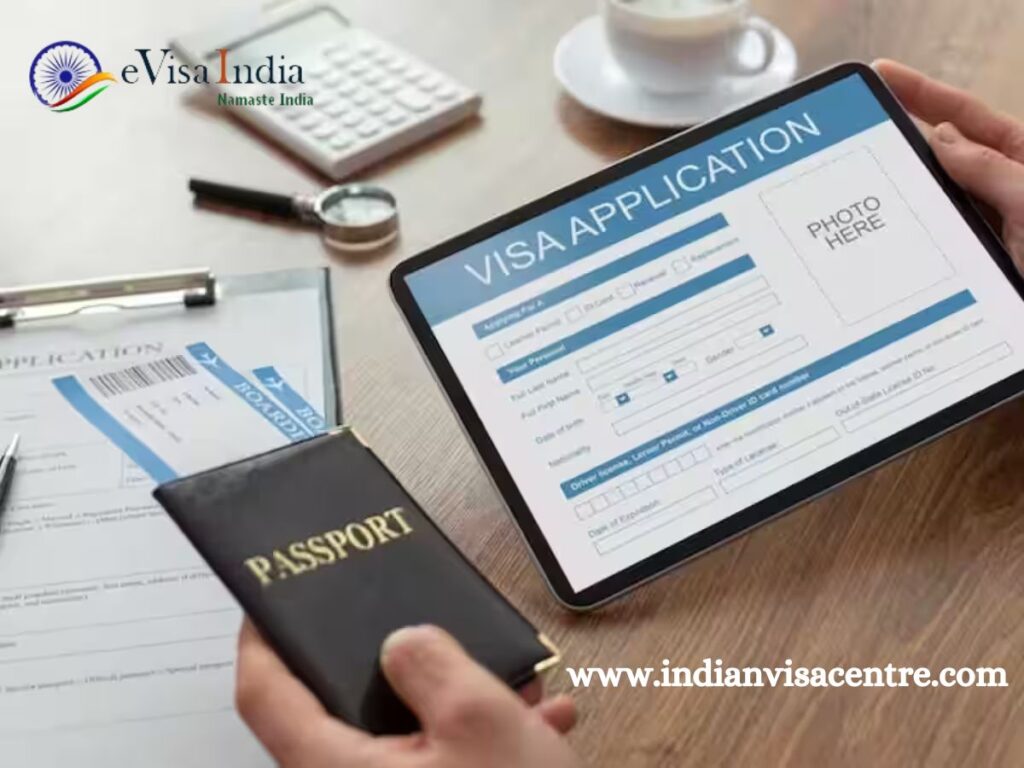
How to Apply for an e-Visa to India
India, the home of colorful fairs, opulent palaces, and sundry landscapes, entices traffic with its desirable attraction. Nevertheless, obtaining your visa is a critical step to take before starting your brilliant journey in India. Thank goodness, the creation of the Indian e-Visa has made the procedure delightfully easy for lots of nationalities.
Why pick out an Indian E-Visa?
The days of filling out lengthy software paperwork and traveling embassies for men and women are long gone. There are numerous advantages to the Indian e-visa:
The consolation of your house: Use the application from the consolation of your own home or any location with internet access.
- Quick and Easy: In comparison to traditional visa programs, the software process is short and smooth, requiring a fraction of the time.
- Cost-effective: Compared to traditional visa expenses, e-visa India charges are generally lower.
- Status of your application: For peace of mind, keep an eye fixed on the status of your software online.
Getting Your Files Ready
Make sure you have all of the required office work handy before beginning the utility system:
- Make Sure of a Valid Passport: You must have a valid passport with at least clean pages for immigration stamps and a minimum of six months left on it after the date you want to arrive in India.
- A Scanned Copy of Digital Passport: You need a scanned copy of the biographical page of your passport, which is the only one that contains your photograph and private information.
- Passport-Sized Photo : An e-version of a cutting-edge passport-sized photograph that satisfies the desired dimensions and format.
- Verify Travel Details: Verify the specifics of your flight and your schedule for India, consisting of the airports you will be using to go into and out of the US.
- Yellow Fever Vaccination Certificate (if applicable): You can also need a yellow fever vaccination certificate based on your travel history and nationality. Verify the legitimate pointers one more time.
Prepare to pay the e-visa processing fee with a legitimate credit score or debit card.
The Step-by way of-Step E-Visa Application Process
Having organized your paperwork, let’s start the application process:
- Indian tourist visa: Go to the e-Visa section of the homepage and click on the “Apply Online” option.
Sign Up: You’ll be directed to a web page where you can check-in. Please ensure that every one of your records is correct, which includes your email address, passport number, and nationality. Make a steady password and keep it in mind for similar logins. - Online Application Form: After registering, you will be in a position to finish the online application in a brand new window. The form will ask for facts about your intended itinerary, contact details, and motive for touring. Be thorough and make certain that each of the statistics corresponds with your documents and is accurate.
- Submit Scanned Documents: Please put up scanned copies of your passport, your picture, and any other supporting papers inside the area furnished. Make sure the documents have the correct length and format.
- Examine your Application: Make certain your application is correct and free from mistakes or inconsistencies. Once the entirety appears to be in order, electronically submit your software.
- E-Visa Processing Fee: We may direct you to a steady price channel to pay the e-Visa processing fee.
Monitor the reputation of your utility: An email confirming your price can be sent to you along with a reference variety. To display the status of your utility, return to the portal and use this quantity. - Processing Time: An e-Visa application commonly takes seventy-two hours to process. This timeline, however, may additionally alternate based on particular situations.
- Received Email Notification: You will receive an e-mail notification along with your e-visa attached as a PDF report as soon as your application is permitted. For your tour files, download and print a replica of the e-Visa.
- E-Visa Immigration Clearance: When you arrive at a distinct Indian airport together with your e-Visa Immigration Clearance, go to the immigration counters labeled “e-Visa.” Give the immigration officer your revealed e-visa, unique passport, and other files they will ask for.
- Fingerprint Scan and Photo: For verification functions, the immigration officer may additionally take your fingerprints and photograph.
- Stamp to Your Passport: The officer will affix an access stamp to your passport, formally allowing you the right of entry into India if all is in order.
Vital Reminders:
Make sure your trip to India is covered with the aid of present-day tour insurance coverage. Learn about the laws that govern what is allowed and prohibited in Indian customs. For less difficult navigation, bring an actual map with you or download a reliable offline map app. When you first arrive, reflect on the idea of changing some money for preliminary prices.
Travel Restrictions: Stay knowledgeable about any advisories or restrictions on traveling due to COVID-19 or different occasions.

What do you think?
Show comments / Leave a comment